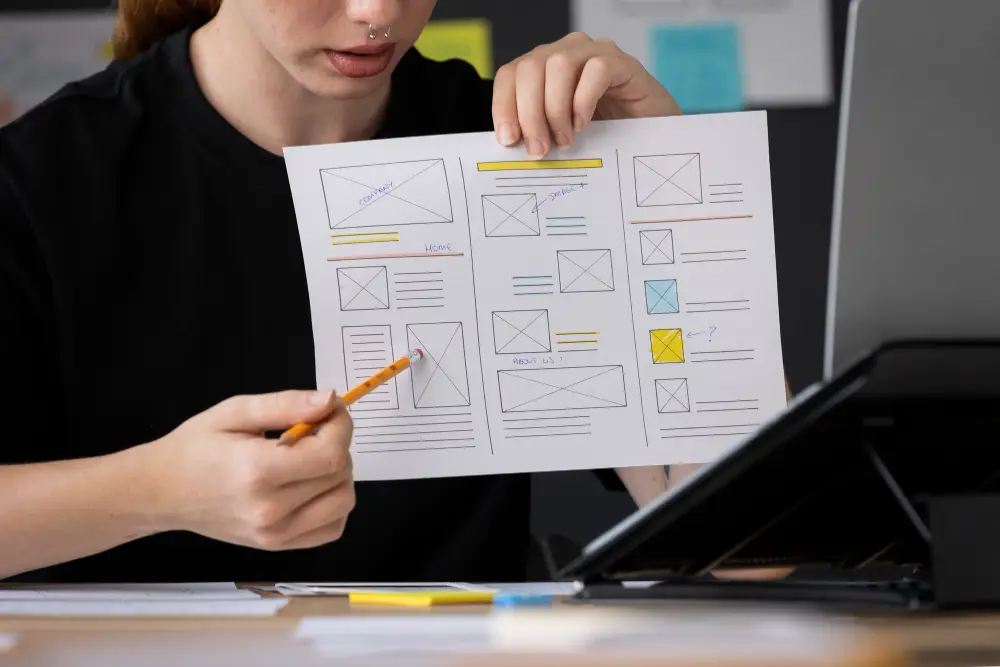
Creating a seamless design workflow is essential for turning ideas into reality. Figma, with its collaborative features and robust toolset, is ideal for designers looking to streamline their process from wireframing to prototyping. This guide will walk you through the steps and best practices for using Figma to enhance your design workflow, making the journey from wireframe to prototype both efficient and effective.
Why Choose Figma?
Figma offers several advantages that make it a preferred tool for modern design workflows:
- Collaborative Features: Real-time collaboration allows multiple designers to work on the same project simultaneously.
- Cloud-Based: Access your projects from anywhere, without the need for manual file transfers.
- Integrated Design Tools: Figma provides a comprehensive suite of tools for wireframing, UI design, and prototyping.
- Prototyping Capabilities: Create interactive prototypes within the same platform, simplifying the transition from design to functionality.
Step-by-Step Workflow: From Wireframe to Prototype
1. Setting Up Your Project
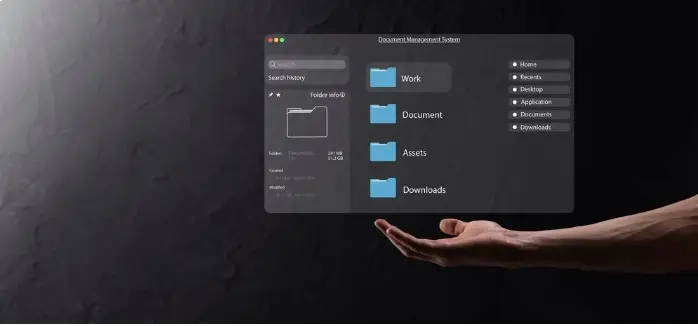
Creating a New File
Start by creating a new project in Figma:
- Open Figma: Log in to your Figma account.
- Create a New File: Click on the “New File” button to start a fresh project.
Organizing Your Workspace
Organize your workspace for efficiency:
- Naming Conventions: Use clear and consistent naming conventions for layers and components.
- Pages and Frames: Use pages to separate different sections of your project and frames for individual screens.
2. Designing Wireframes
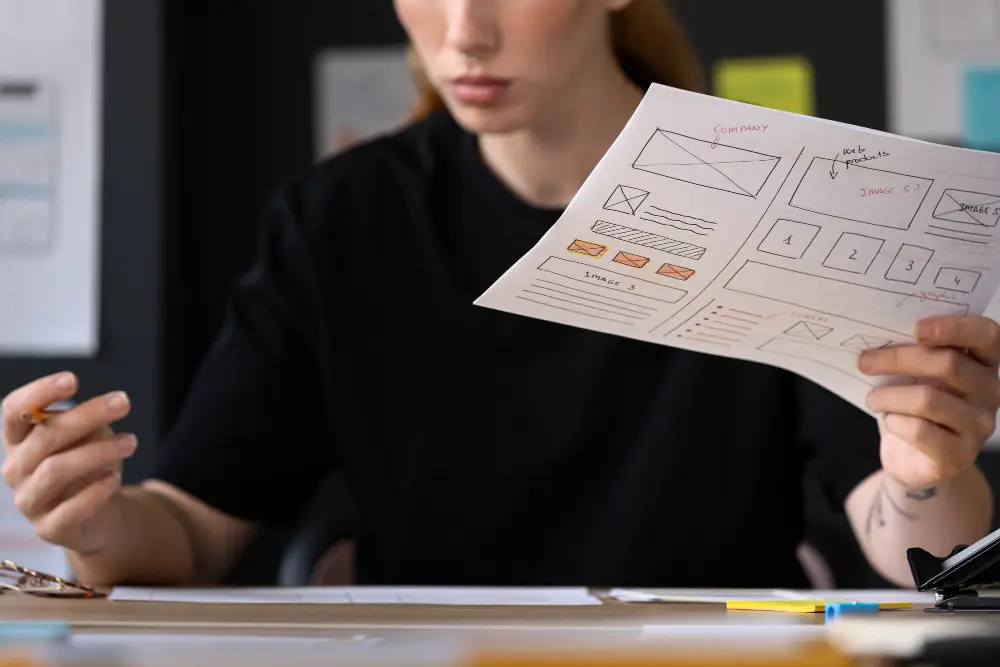
Basic Layouts
Wireframes are the blueprint of your design. They should focus on structure and layout without detailed styling:
- Add Frames: Use frames to define the boundaries of your wireframes.
- Use Shapes and Lines: Create basic layouts using rectangles, lines, and other simple shapes.
- Placeholder Text and Images: Use placeholder text (Lorem Ipsum) and images to represent content areas.
Low-Fidelity Wireframes
Keep wireframes low-fidelity to concentrate on layout and functionality:
- Simplified Elements: Use simple shapes and grayscale colors.
- Annotations: Add notes to explain design decisions and functionality.
3. Creating High-Fidelity Designs

Adding Style and Detail
Transform your wireframes into detailed designs:
- Typography: Choose fonts and set up text styles for headings, body text, and other elements.
- Colors and Icons: Add colors and icons to bring your design to life.
- Images and Graphics: Replace placeholders with actual images and graphics.
Components and Styles
Utilize Figma’s components and styles to maintain consistency:
- Create Components: Convert frequently used elements into components for reusability.
- Use Styles: Define color styles, text styles, and effects to ensure uniformity across your design.
4. Building Interactive Prototypes
Linking Frames
Create interactive prototypes by linking frames:
- Prototype Tab: Switch to the Prototype tab in Figma.
- Add Interactions: Click on elements and drag connectors to the target frames to define interactions.
- Set Triggers: Choose triggers like clicks, hovers, or key presses to initiate interactions.
Adding Animations
Enhance your prototypes with animations:
- Transitions: Set up smooth transitions between frames.
- Smart Animate: Use Smart Animate to create advanced animations by animating properties between frames.
5. Testing and Iteration

Previewing Prototypes
Test your prototypes to ensure they function as intended:
- Present Mode: Click the Present button to view your prototype in full screen.
- Interactive Testing: Interact with your prototype to test its functionality and flow.
Collecting Feedback
Gather feedback from stakeholders and users:
- Share Prototypes: Share your prototype link with team members and clients.
- Comments: Use Figma’s comment feature to collect feedback directly on the design.
Iterating Based on Feedback
Refine your designs based on feedback:
- Make Adjustments: Update your designs and prototypes according to the feedback received.
- Repeat Testing: Continuously test and iterate until the design meets all requirements.
Best Practices for Using Figma
1. Collaboration
- Invite Team Members: Invite collaborators to your project for real-time collaboration.
- Use Comments: Utilize comments for discussions and feedback within the design file.
2. Consistency
- Design Systems: Create a design system with reusable components and styles.
- Component Libraries: Use Figma’s component libraries to maintain consistency across projects.
3. Efficiency
- Shortcuts: Learn Figma’s keyboard shortcuts to speed up your workflow.
- Plugins: Use plugins to automate repetitive tasks and extend Figma’s functionality.
Conclusion
Figma provides a powerful platform for streamlining your design workflow from wireframe to prototype. Its collaborative features, integrated tools, and prototyping capabilities make it an ideal choice for designers looking to create efficient and effective designs. By following the steps and best practices outlined in this guide, you can leverage Figma to enhance your design process, ensuring a smooth transition from initial concepts to interactive prototypes.


