
Managing a franchise business with multiple locations requires a consistent brand experience across all sites. WordPress Multisite offers an ideal solution, enabling centralized control over multiple sites within a single WordPress installation. This guide provides a step-by-step approach to leveraging WordPress Multisite for franchise businesses.
Why Choose WordPress Multisite for Franchise Businesses?
WordPress Multisite is a powerful feature that allows you to run a network of websites from one WordPress installation. For franchise businesses, this means:
- Centralized Management: Update plugins, themes, and settings across all sites from a single dashboard.
- Consistency: Ensure brand consistency by sharing themes and plugins across all franchise sites.
- Scalability: Easily add new sites to the network as the business expands.
Step-by-Step Guide to Setting Up WordPress Multisite
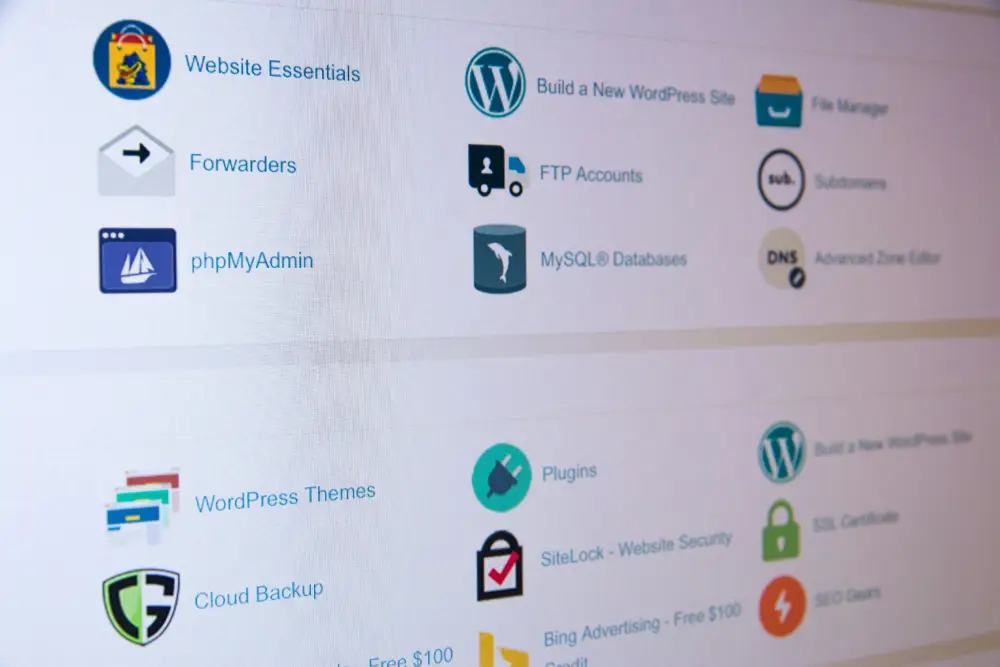
Step 1: Prepare Your Hosting Environment
Ensure your hosting provider supports WordPress Multisite. A Virtual Private Server (VPS) or dedicated server is recommended for handling multiple sites efficiently.
Step 2: Install WordPress
If you haven’t already, install WordPress on your server. Multisite works best on a fresh WordPress installation, but you can also enable it on an existing site.
Step 3: Enable Multisite
- Open the
wp-config.phpfile and add this line above the “/* That’s all, stop editing! Happy blogging. */” comment: codedefine('WP_ALLOW_MULTISITE', true); - Save the file and refresh your browser to see a new “Network Setup” option under Tools.
Step 4: Set Up Your Network
- Click on “Network Setup” to configure your multisite network.
- Choose between subdomains (site1.example.com) or subdirectories (example.com/site1) for your network.
- Provide a network title and admin email, then click “Install.”
Step 5: Update Configuration Files
- Follow the instructions provided to update your
wp-config.phpand.htaccessfiles. - Copy the provided code snippets into the appropriate files and save them.

Step 6: Log in to Your Network Admin Dashboard
Log out and back in to access the network admin dashboard, where you can manage the network settings and individual sites.
Step 7: Add Sites to the Network
- In the network dashboard, navigate to “Sites” and click “Add New.”
- Enter the site’s address, title, and admin email to create a new site.
- Repeat this process to add more sites as needed.
Step 8: Manage Themes and Plugins
- Themes: Activate a theme network-wide or enable specific themes for individual sites.
- Plugins: Install plugins at the network level and choose which ones are available to all sites or specific sites.
Step 9: Manage Users
Assign roles to users across the network. Super admins can manage the entire network, while site admins manage individual sites.
Step 10: Implement Branding and Settings
Establish consistent branding by customizing themes and setting default configurations. This ensures a uniform look and feel across all franchise sites.
Conclusion
WordPress Multisite is a powerful tool for franchise businesses, providing a scalable and centralized platform to manage multiple sites. By following this guide, you can set up a Multisite network that maintains brand consistency while enabling each location to thrive.
Call to Action
Ready to streamline your franchise’s online presence with WordPress Multisite? Contact us for expert assistance in setting up and managing your multisite network, and ensure your brand stays consistent and effective across all locations.